Wounds Management
Patients with acute or chronic wounds need effective management and hygiene skills to help them heal faster. When wounds are poorly kept, they fester, implicating severe outcomes that result in a significant social and financial burden. Patients with acute wounds can practice home wound care after nursing education on the procedures. It is, therefore, my role to educate patients with no nursing skills on simple wound management procedures essential for cleaning and timely dressing change. Home wound management procedures include preparing the environment, washing hands, inspecting the wound, uncovering the wound, removing organic residue, cleaning the wound, applying an antibacterial, and applying a new cover for the wound (Rogers et al., 2020). Conduct a wound cleaning and dressing change procedure daily for about ten minutes in an enclosed area.
List of Tools
The wound cleaning and dressing procedure require a wound care kit for high efficiency. You should ensure all the necessary tools are available before the operation to avoid inconveniences that may expose the wound to bacterial infection or injury. Wound care tools ensure patient safety during cleaning and dressing procedures (Moura et al., 2020). The necessary supplies include hand gloves, gauze sponges, non-woven sponges, alcohol pads, warm water in a basin, forceps, scissors, and dry gauze dressings.
Illustration


Steps by Step Guide of Wound Management
- Prepare the environment: Ensure all tools needed are available and choose a good location with sufficient lighting. Ensure you choose a sitting position that will allow you to operate without strain.
- Address the necessary supplies: Ensure all requirements for the dressing procedure are within reach without having to move midway through the process. Also, cut the new dressing to cover the wound’s type, size, and location.
- Wash Your Hands: Clean your hands with soap or detergent to minimize the risk of infection. Rub all areas of your hands with soap and water for at least 30 seconds until they are thoroughly cleaned.
- Uncover the wound: Start by removing the adhesive tape or superficial compress around the wound. Proceed to gently remove the inner gauze sponges and compresses until the wound is fully uncovered. However, the inner dressings may stick to the painful wound and may harm the wound if not correctly handled. Apply sterile water or 0.9% sodium chloride to detach the areas that stick. Dispose of the dressing and the gloves in a bin container.
- Inspecting the Wound: Observe the wound to determine the stage of the healing process. Color pigmentations on the wound indicate progress ranging from black, red, pink, yellow, or greenish regions. Black color highlight the necrosis stage, which is dry or wet dead skin, whereas the yellow or greenish area is the infected tissue with pus. Red marks the granulation stage, an indicator of healing, while pink is epithelisation or the last healing phase.
- Document and record procedure: Record the dressing change time and wound progress. If the wound deteriorates or displays unconventional signs, report to the physician.
- Remove Organic Residue: Use purified water or 0.9% sodium chloride to take off solid residues of sponge, blood clots, and pus using the compress, forceps, and scissors. Remove the remnants starting with the cleaner areas to the grisly areas.
- Cleaning: Wear another pair of gloves and rub the injury dry using a gauze dressing. Use a sterile compress to rub around the wound, starting with the cleanliest to the dirtiest areas.
- Applying antibiotics: Use the scissors to open one alcohol pad and wet some sponges. Ensure the ointment is spread to all areas of the wound. Antibiotics accelerate the healing of wounds by assuring hygiene and moisture. Apply antibiotic on one non-woven sponge and cover the wet areas.
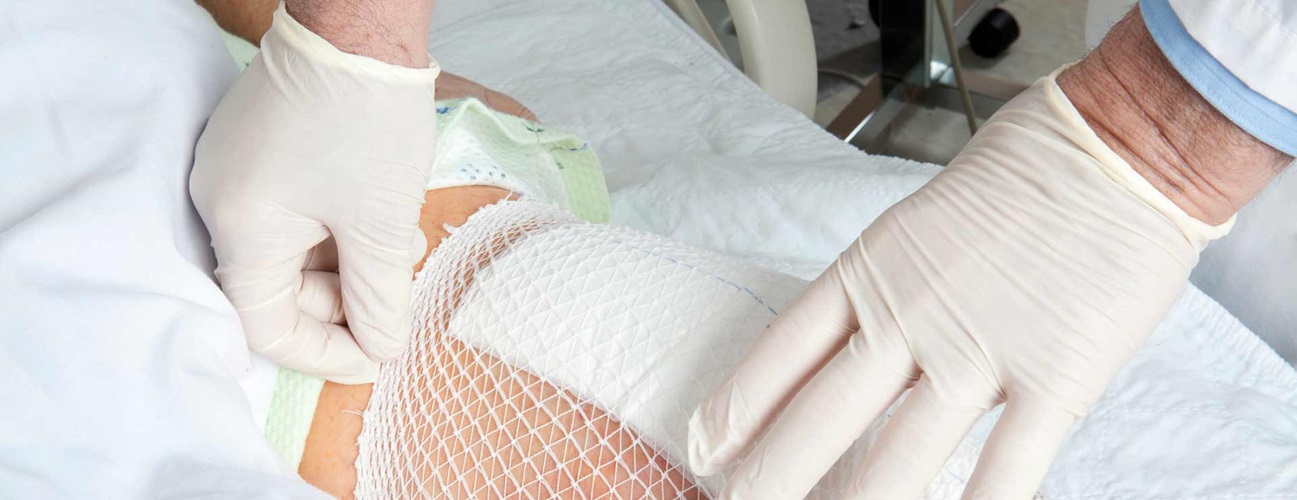
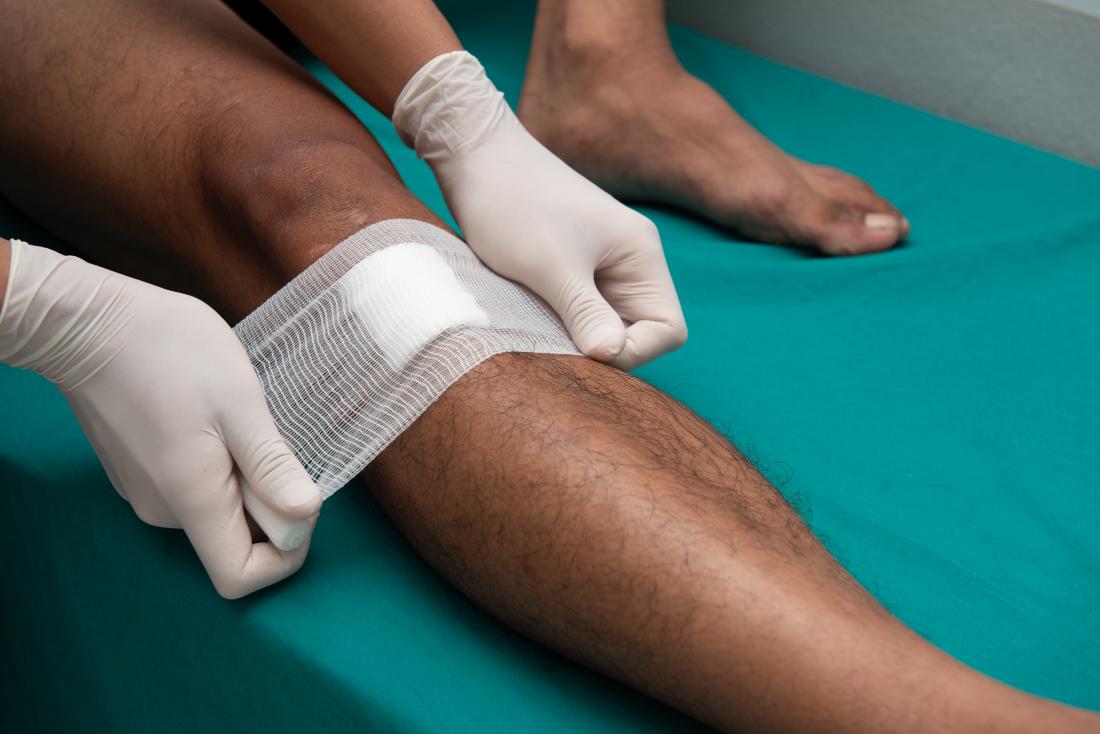
- Subsequent dressing: Cover the wound with several layers of dry non-woven sponges until completely covered, and seal with cell tape. Ensure the dressing is tight and comfortable.
References
John Hopkins Medicine. (2019). Surgical site infections. Johns Hopkins Medicine. Web.
Moura, C. D., Bain, K., & Bain, M. (2020). Advancing practice in holistic wound management: a consensus-based call to action.Wounds International, 11(4), 70-5. Web.
Rogers, L. C., Armstrong, D. G., Capotorto, J., Fife, C. E., Garcia, J. R., Gelly, H., Gurtner, G. C., Lavery, L. A., Marston, W., Neville, R., Nursgart, M., Ravitz, K. & Woelfel, S. (2020). Wound center without walls: the new model of providing care during the COVID-19 pandemic.Wounds: a Compendium of Clinical Research and Practice, 32(7), 178. Web.